The Ultimate Guide to DTF Printing
Why You Need To Switch To DTF Printing
Although we cannot deny that there are alternative printing technologies out there, they are not even close to DTF printers in terms of quality. Here are a few reasons why switching to DTF printing is a good idea if you currently use another printing method.
Print and Cut Heat Seal Vinyl VS DTF
If you are utilizing the Print and Cut Heat Seal Vinyl, you are aware of how time-consuming it is to produce a final product without excess vinyl. Even the process of creating a single flawlessly printed piece of fabric takes almost a lifetime. That is one thing you won’t have to worry about if you choose DTF. DTF printing offers a quick printing method that eliminates the need for weeding.
Screen Printing VS DTF
Although screen printing is known for its high output quality, working with little numbers can be rather wasteful. If you are dealing with intricate mufti color schemes, this is considerably worse. It can be very pricey. However, with DTF printing, the situation is different because neither the quantity nor the design significantly affect the cost per unit of the finished good.
DTG vs DTF
DTG printing and DTF printing have extremely similar processing systems. The primary distinction is the DTG restriction, though. DTG only works on cotton clothing, and when you take into account the time and money needed for fabric pretreatment, the process actually becomes more difficult than it would be if you used DTF.
Sublimation vs. DTF
Although sublimation yields top-notch finished goods, the fabric restrictions make the operation a little more complicated than DTF. DTF also has an advantage because to the low cost of sublimation printing maintenance and buying.
What do you require for DTF printing?
- DTF Printer
- PET Films
- DTF Printing Software
- Adhesive Powder
- DTF Printing Ink
- Automatic Powder Shaker
- Heat Press Machine Or Curing Oven
Benefits of DTF Printing
- Versatility on Materials
DTF can be applied to a wide range of materials including cotton, nylon, treated leather, polyester, 50/50 blends, etc. (light and dark fabrics).
- Cost Effective
Can save up to 50% white ink. Supplies are also significantly more affordable.
- No Pretreat Required
If you come from a direct-to-garment (DTG) background, you are familiar with the pre-processing of garments before printing. With DTF, you no longer have to worry about preconditioning the garment before printing.
- No A+B Sheets Marrying Process
If you come from A white toner laser printer background, you will be pleased to hear that DTF does not require the expensive A+B paper grafting process.
- Production Speed
Since you’re basically removing one of the pre-processing steps, you can speed up production.
- Washability
The test results show that the printing effect is close to the traditional DTG printing
- Easy Application
DTF allows you to easily apply artwork to difficult parts of clothing or fabric.
- High Stretchability and Soft Hand Feel
- No Scorching
Step by Step DTF Printing Process
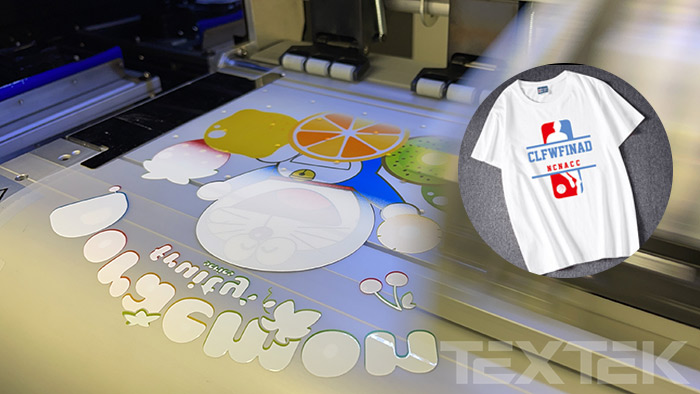
Step 1 – Print on film
You have to print your CMYK first and then your white layer. This can be done easily with Rip software, just once.
Step 2 – Apply powder
Evenly spread the powder while the print is wet to ensure its stickiness. Carefully shake off the excess powder so that there is no residue beyond the printed matter. This is extremely important because this is the glue that holds the print to the fabric.
Step 3 – Melt/solidify the powder
Bake in a baking oven or hot press at 350 degrees Fahrenheit for 2 minutes to combine the hot melt powder with the printed matter.
Step 4 – Transfer
Now transfer the printing to the garment and press the film and garment together for 10 seconds using a hot press at 302 degrees Fahrenheit.
Step 5 – Cold peel
Wait until the print has cooled completely before peeling the print film from the garment or fabric.
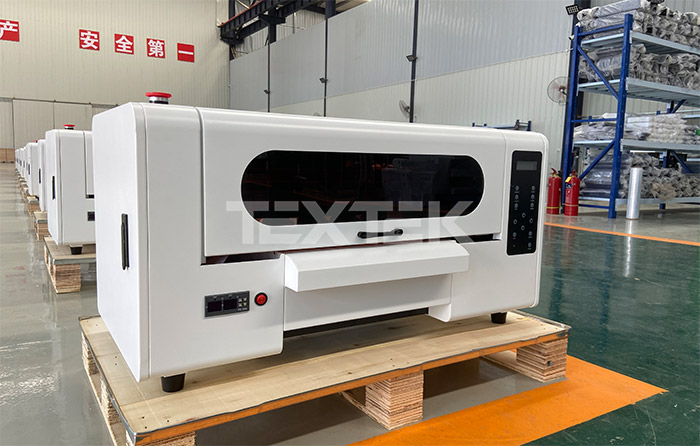
What To Look For When Buying a New DTF Printer
Choosing to buy a DTF printer is a breeze, choosing to buy a specific DTF printer is quite complex. Here are some things to look for when making your purchase decision.
Size. It is important to choose a DTF printer that is suitable for your workspace. If you have less space, you can opt for a 24-inch printer. Also note that the size of the DTF printer also matters for the size of clothing you can print.
Software compatibility. The design and RIP software you can use should be compatible with the DTF printer you choose to purchase. This is something you should consider and be sure of.
Power supply requirements. DTF printers are electrical components and it is necessary to ensure that they are compatible with your available power supply. The last thing you want is a short circuit in your printer.
The G7 certification. Your DTF printer needs to meet the G7 color standard. The reason is that all other consumables and software are designed using the G7 color criterion. Your printer needs to meet standards to ensure the quality of the final product.
Warranty. You need to provide a warranty for your printer. This is important because your DTF printer, like all other printers, is always subject to technical failures. It is necessary to ensure that there is a remedy if something goes wrong.
How to Heat Press Your DTF Print
One of the most crucial steps in the DTF printing process is heat pressing. A curing oven makes the heating procedure simple. Place your PET film and adhesive power mixture in the curing oven, that’s all. Given that you can readily control the temperature, this is one of the simplest methods for melting the print.
A heating press will work in place of a curing oven if you don’t have access to one. Just be certain that the film and the heat press are not in direct touch. A 4–7mm separation is sufficient.
The print can be transferred to the fabric after heating the film. This step is crucial to the overall DTF printing process. The print on the film is transferred to the fabric during the procedure using a heat press. It takes 15 to 20 seconds to complete the operation, which is carried out at a very high temperature of up to 170 degrees Celsius.
How To Make Your DTF Prints
Both getting and producing the final print are simple processes. The first step is selecting software that you are at ease with. Make sure you pick the appropriate measurements when designing. This aids in preventing image distortion during the transmission of the design.
DTF offers you a great deal of flexibility when it comes to fabric type. DTF printing is compatible with untreated cotton, silk, polyester, denim, nylon, leather, and 50/50 blends. Making ensuring that any material you choose can withstand the 170 degree delicious threshold during curing is essential.
Additionally, DTF ink and powders need to work with the printer you’re using. Consumables have a major impact on the caliber of the finished product.
How To Wash Your DTF Prints
There are various precautions you must take after your DTF print has been applied to the garment to prevent damaging the printed item.
The DTF print is delicate to abrasive environments. That entails washing cycles with high temperatures and rpms. This indicates that washing must be done carefully. Make careful to turn your clothing inside out before washing it.
Avoid powdered detergents at all costs when it comes to cleaning products. The dense granules cause print tension and may eventually cause the print to become ruined. No to fabric softener, end of story. It can be challenging to get rid of odors and even filth because of the interaction between the softener and the print. Fabric softeners may also cause the print to fade more quickly. Use of fabric softener will cause your DTF print to peel off.
The best option for drying is air drying. The use of a tumble dryer is not advised.