- Printhead: 2*EPSON F1080
- Printing Speed: 4.5sqm/h
- Print Width: 30cm(12 inch)
- Ink: CMYK+W Pigment Ink
- Ink Color: 6 Color Printing
- RIP Software: RIIN/Flexiprint/CADlink/Maintop
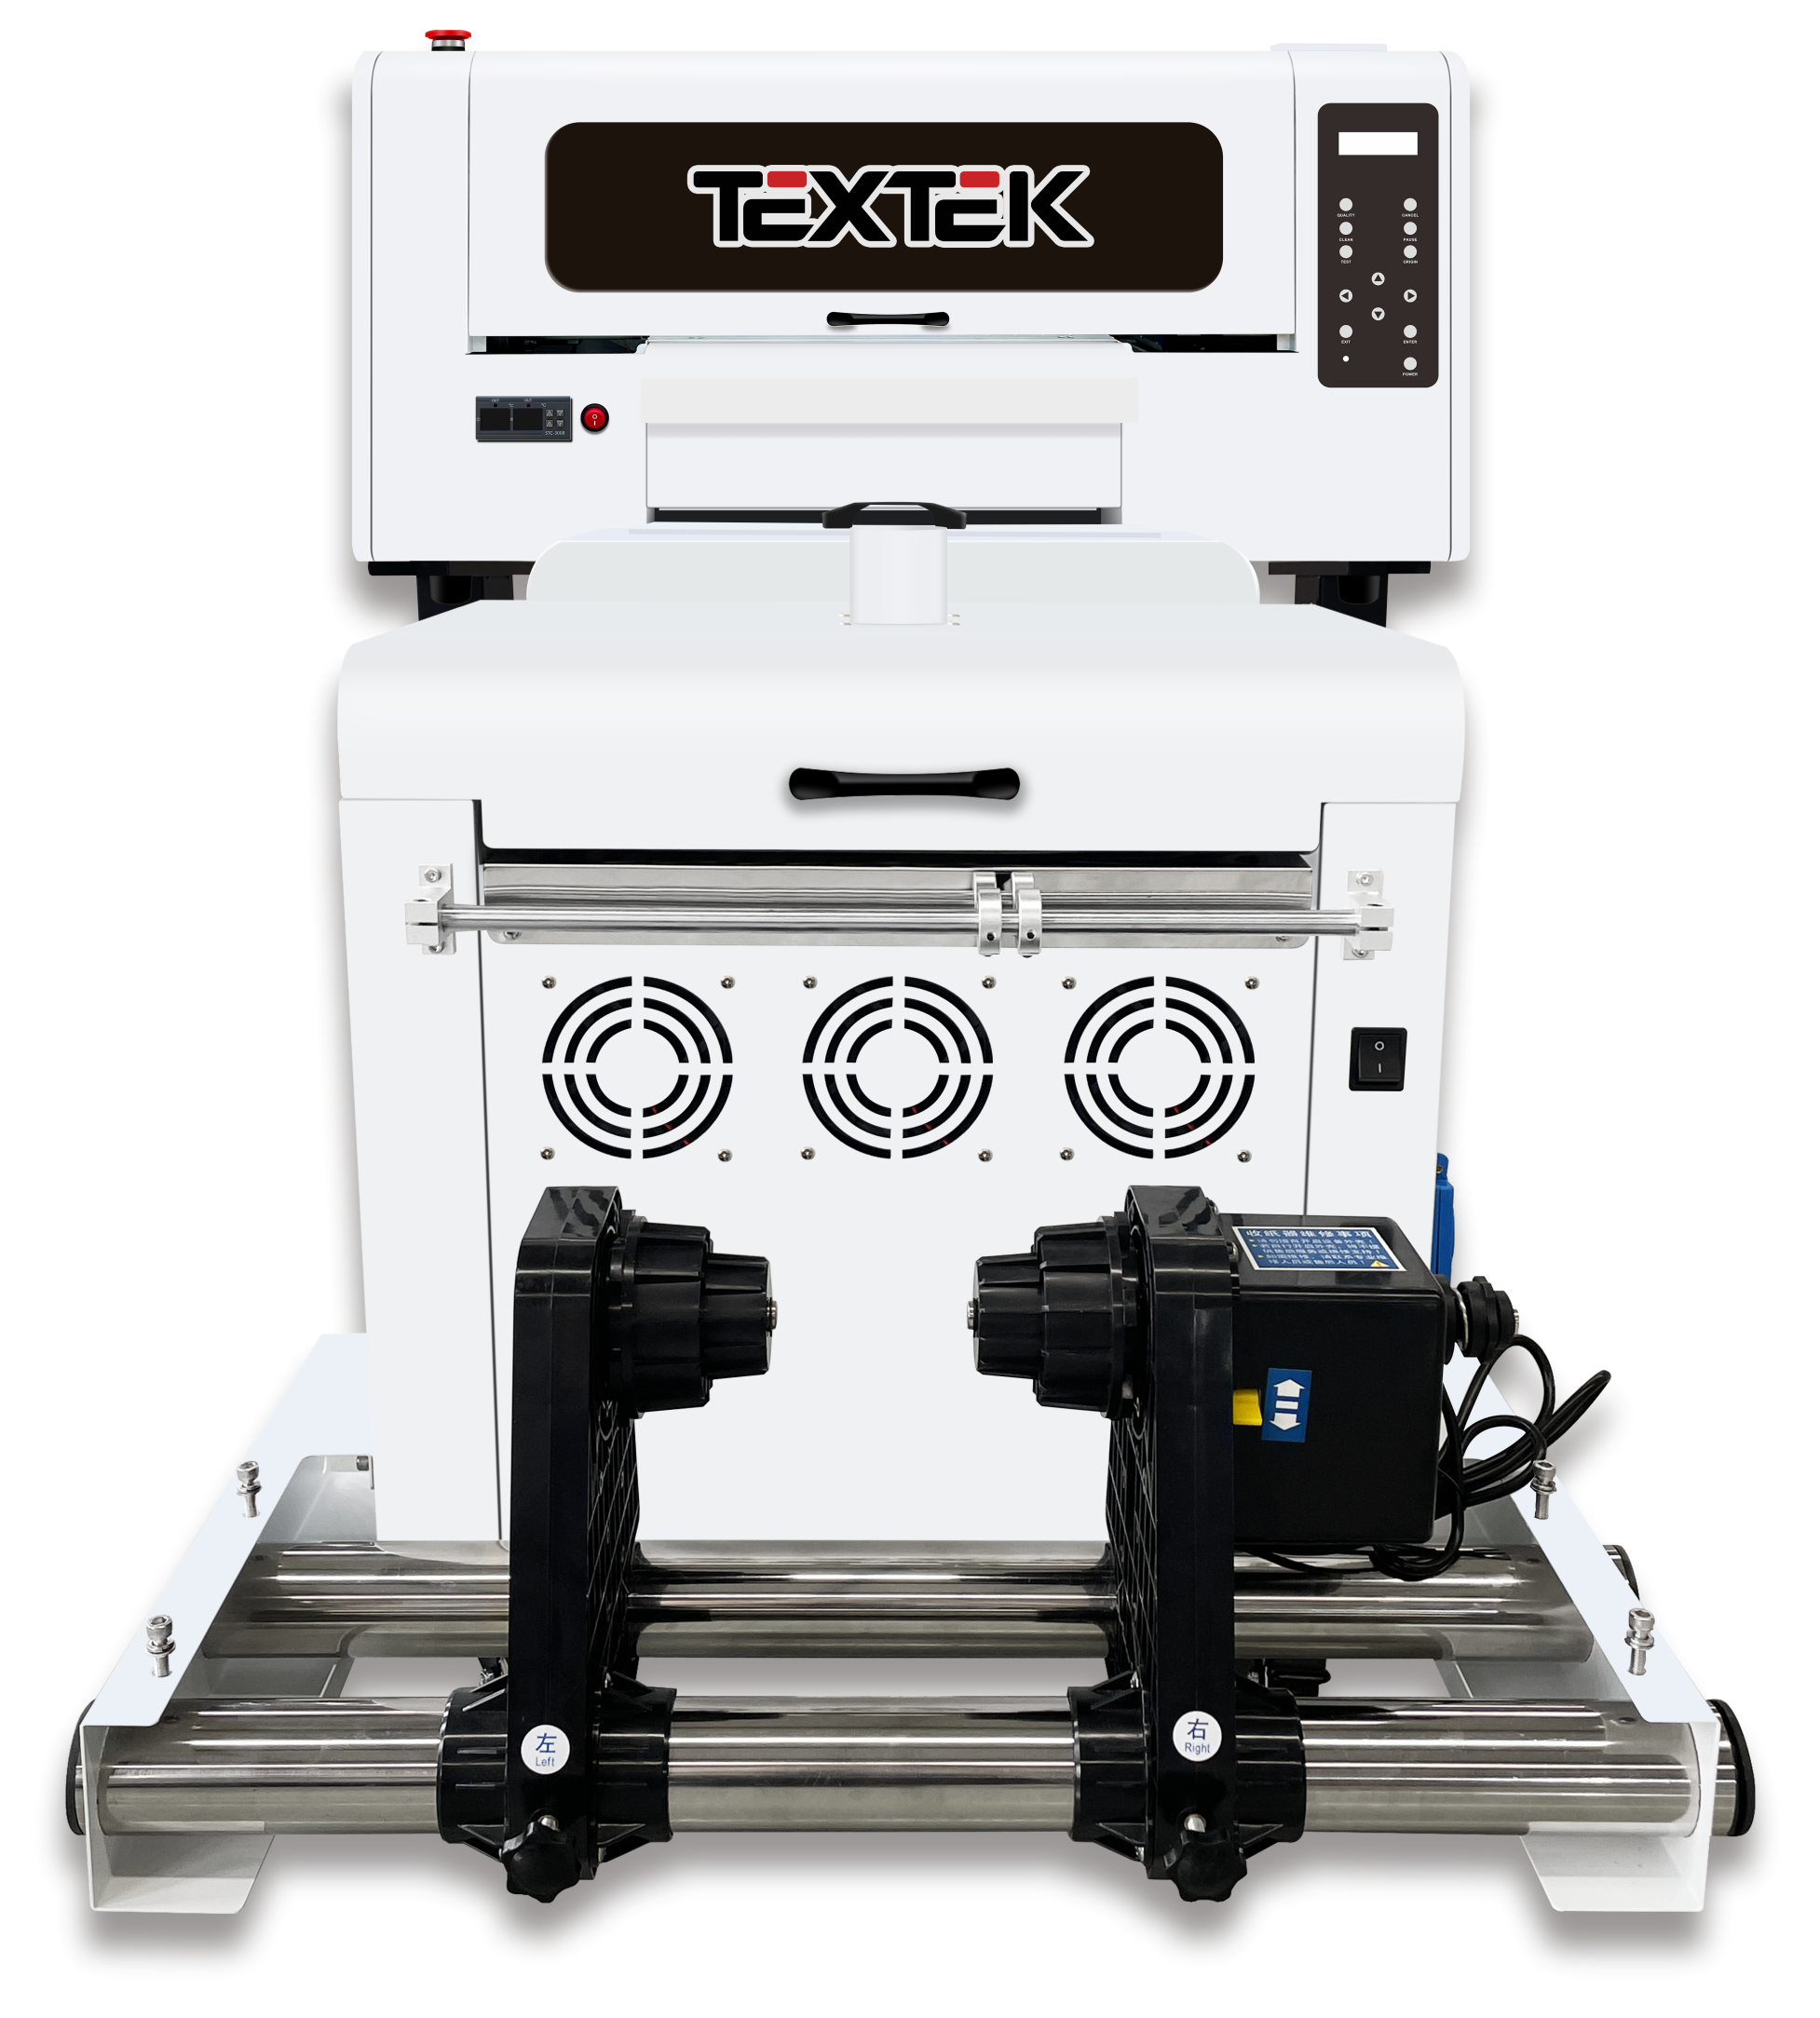
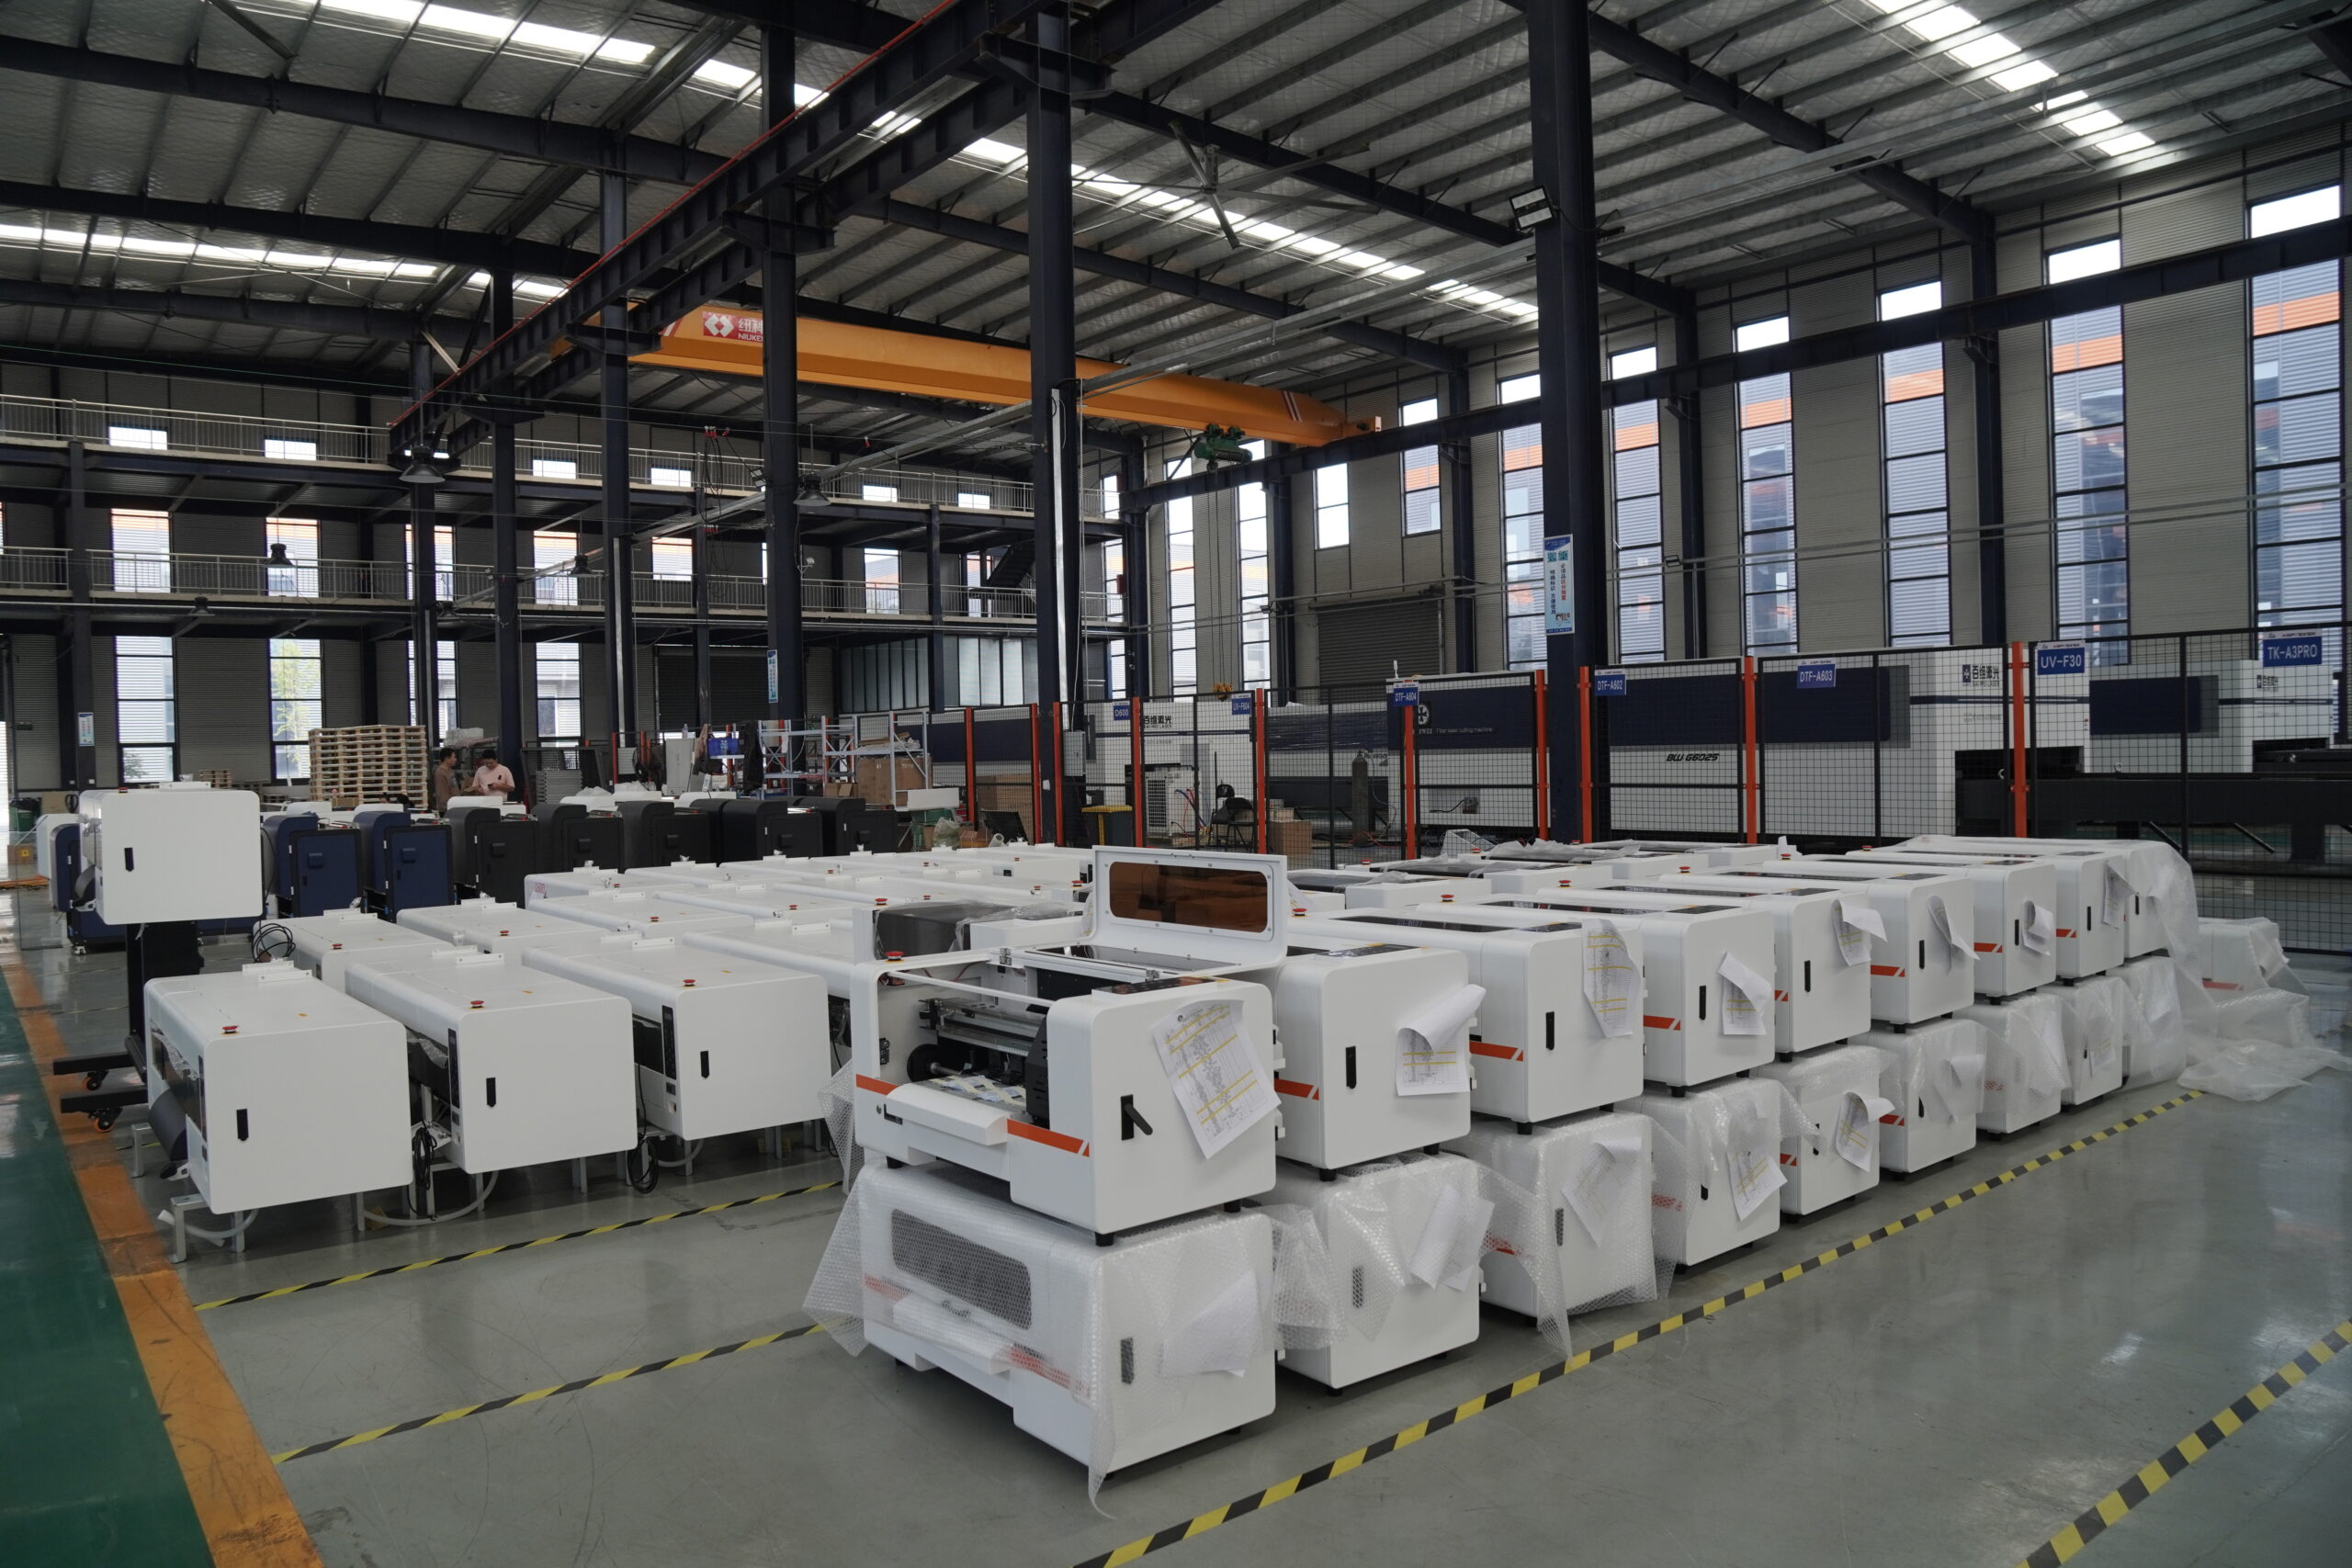
TEXTEK DTF Printer
TEXTEK is a professional manufacturer of DTF printers that specializes in print functionality and results. A complete A3 DTF printer with a white ink circulation system and heated film tray that dries the ink as it prints, allowing you to apply more white ink without flow. The result is a vibrant transfer with thicker layers of ink, allowing less light to pass through and providing excellent durability.
DTF transfer printers are suitable for a wide range of fabric types (cotton, polyester, blends, etc.) and are suitable for both white and dark textiles.
Specification
| Model | DTF-A30 (A3 DTF Printer) | |
| Nozzle Model | 2*EPSON F1080 | |
| Printing Speed | High speed mode | 720*360DPI 4PASS 5m²/h 720*540DPI 6PASS 4m²/h 720*720DPI 8PASS 3m²/h |
| High precision mode | 720*360DPI 4PASS 3.5m²/h 720*540DPI 6PASS 2.3m²/h 720″720DPI 8PASS 2.2m²/h | |
| Color | 4C+W or 6C+W(Lc/Lm/Fo/Fg as option) | |
| Printing Format | 300mm (12 inch) | |
| Media Transfer | Paper Tension | |
| Heating Device | Front and Back Heating | |
| Ink Road System | Automatic Ink Supply, White Ink Circulating and Stirring | |
| Power Electric Supply | 110V/220V 50-60 HZ | |
| Power | Sleeping:30W, Standby:140W, Working:200W | |
| Working Environment | Temperature 20-30℃ Humidity 35-65ph | |
| Weight | Machine:130kg Package:50kg | |
| Package Size/Weight | Printer: 107*640*650mm 96kg Powder Shaker: 800*600*720mm 56kg | |
| Machine Size/Weight | Printer: 940*762*978.3mm 80kg Powder Shaker: 640*932*577mm 45kg | |
Features of A3 DTF Printer
- Supports 6-color printing with fuller colors.
- Small footprint and low cost.
- Can print a variety of colors and fabrics.
- High color fastness, not easy to fall off, and washable.
- Easy to operate, the best printer for T-shirt DIY printing.
- White ink circulation system to filter impurities and prevent clogging.
White Ink Circulation Function
- The automatic ink circulation system effectively prevents white ink precipitation from blocking the nozzle, saving ink
- Automatic realization of the ink tube to the ink capsule cycle, solving the problem of easy clogging of the nozzle, reducing the problem of ink out, reducing energy costs
DTF Printing Process
Step 1 Print on Film
Insert PET film into the printer tray instead of plain paper. First print the entire image on the PET film in white. After this, print the desired image on the white image layer using the appropriate color settings in the printer. The important point to remember is that the print on the film must be a mirror image of the actual image that needs to appear on the fabric.
Step 2 Powdering
This step involves applying a hot melt powder to the film on which the image is printed. When the print is wet, the powder will coat evenly and care needs to be taken to remove excess powder. It is important to ensure that the powder is evenly distributed over the printed surface of the film. Pick up the film with the powder and bend it slightly inward so that it forms a small U with the concave side facing you. Now gently shake this film from left to right so that the powder is slowly and evenly dispersed over the entire surface of the film. Or you can use an automatic powder shaker.
Step 3 Melt the powder
As the name implies, the powder is melted in this step. This can be accomplished in a variety of ways. The most common method is to heat the film with the image printed on it and the film with the powder applied in a curing oven. If the curing oven is not available, place the film in the heat press and keep the top of the press very close to the film, but not touching it. There should be a gap of about 4 to 7 mm between the film and the top of the hot press. A metal wire can be used to hold the top of the press in place so that it is not completely closed on the film and leaves the necessary gap. For best results, it is highly recommended to melt the powder according to the manufacturer’s specifications. Depending on the powder and the equipment, heating is usually performed for 2 to 5 minutes at around 160 to 170 degrees Celsius.
Step 4 Pre-Compression
This step consists of pre-pressing the fabric before the film is transferred to the image. The fabric is held in the heat press and pressed under heat for about 2 to 5 seconds. This is done to flatten the fabric and to ensure that the fabric is dehumidified. Pre-pressing helps transfer the image from the film to the fabric properly.
Step 5 Transfer
This is the heart of the DTF printing process. The PET film with the image and molten powder is placed on the pre-pressed fabric in a heat press to provide a strong bond between the film and the fabric. This process is also called “curing”. Curing takes place in the temperature range of 160 to 170 degrees Celsius for about 15 to 20 seconds. The film is now firmly attached to the fabric.
Step 6 Cold Peel
It is important that the fabric and the film now attached to it cool to room temperature before pulling off the film. Since the hot melt adhesive has amide-like properties, as it cools, it acts as an adhesive, allowing the colored pigments in the ink to bond firmly to the fabric fibers. After the film has cooled, it must be peeled from the fabric, leaving the desired design on the fabric.